PCB Etching with Press 'n' Peel Film
May 25, 2008 21:23:47 GMT
Post by canjunkie on May 25, 2008 21:23:47 GMT
With all the problems sourcing the Silicon Chip HA from Jaycar I decided to take the plunge and try the 'Press 'n' Peel' iron on etch resist system.
With boards now available from Wimbourne publishers and the likelihood of Jaycar are-stocking the kits I thought it was still worth looking into because of the JLH 'ripple eater' suggested by SandyK.
I orginally sourced the film from Ebay. Even using a Canadian source it worked out cheaper than buying from Rapid or Maplin. Since then I've found this chap www.ronlin.co.uk/who sells it for GBP1.75 per sheet. For a good basic tutorial on using the film try www.semis.demon.co.uk/PCB/PCB.html
Here's a look at some of my efforts.
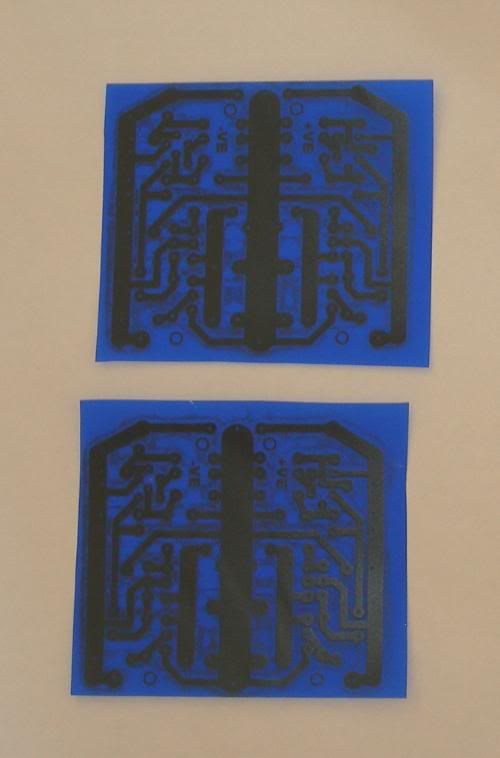
Not long after the Press 'n' Peel (PnP from now on) turned up my laserjet printer ran out of toner. So it was off to the local copyshop. The results via their Colour copier weren't great as you can see below...
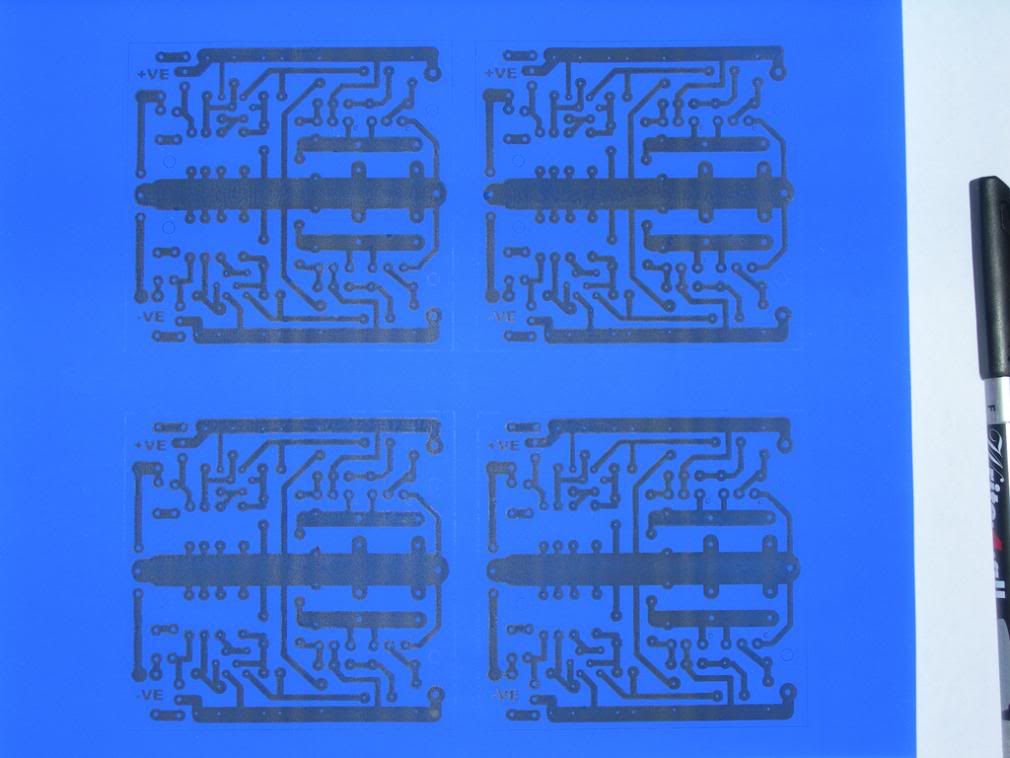
The local newsagent's simpler monochrome copier did a better job but the toner wasn't solid - leading to problems at the ironing and etching stage....
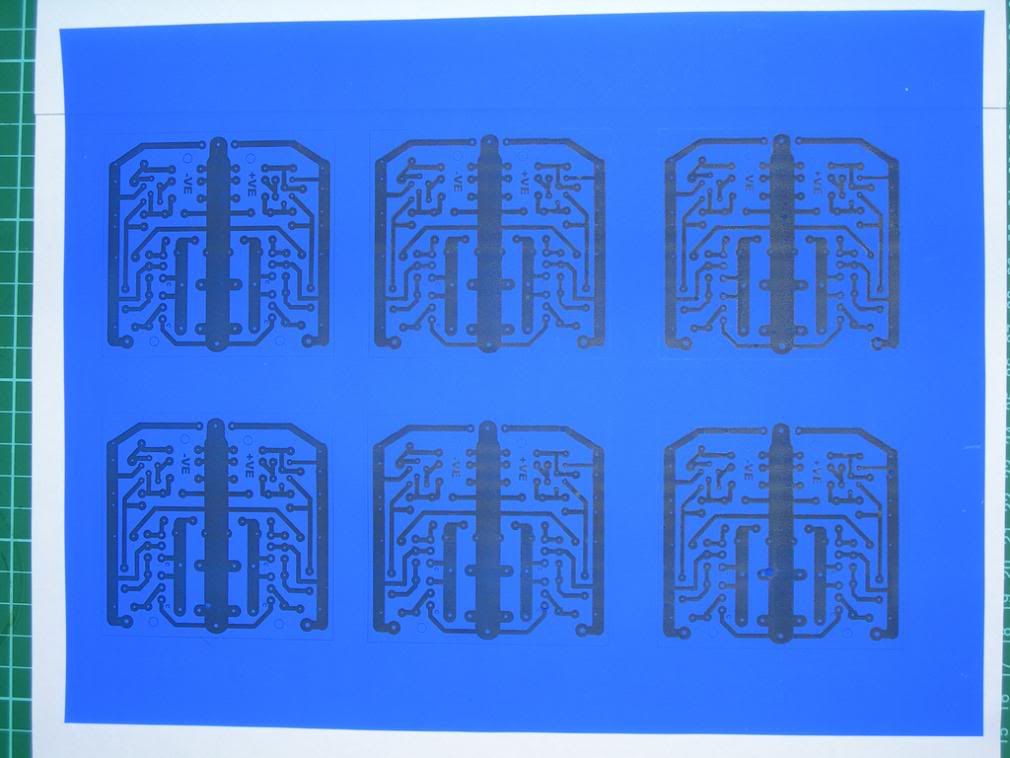
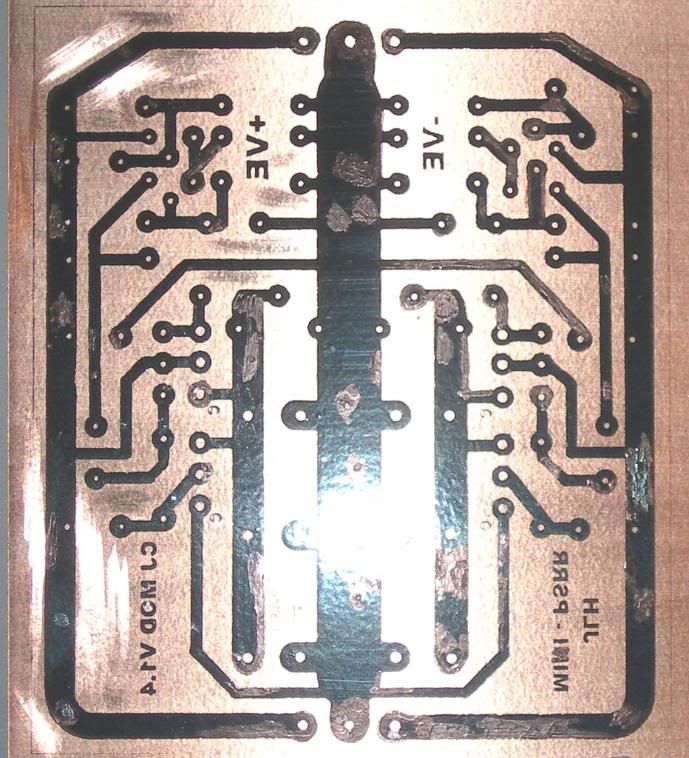
With a bit of a delay the laser was back in action and the results were better. More even toner on the film and better transfer to the copper board.
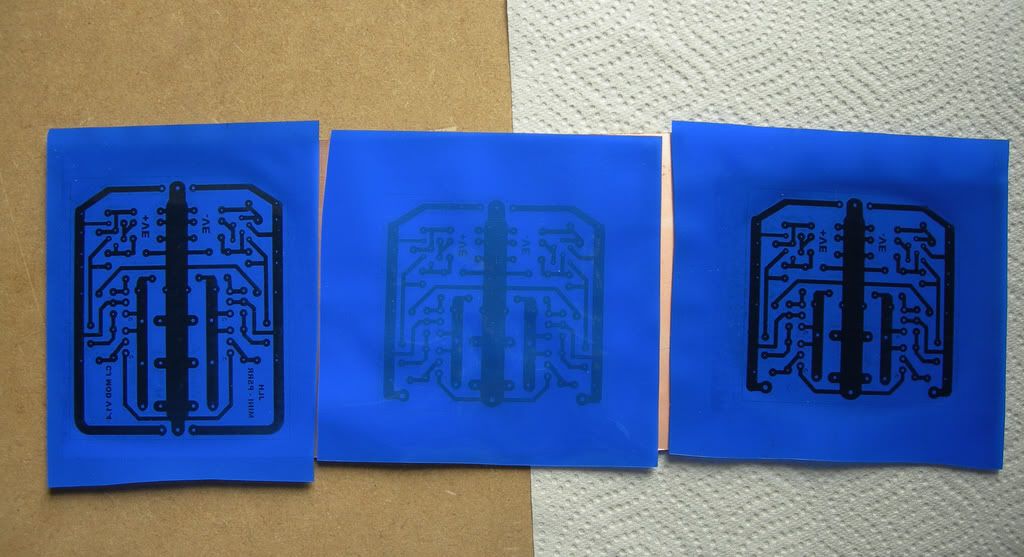
Trial and error has taught me to look for a very dark image after ironing before allowing to cool and peeling of the film. The middle example here has not been ironed on yet....
Putting a sheet of paper between the iron and the PnP film is a good tip - otherwise you can end up with this mess.
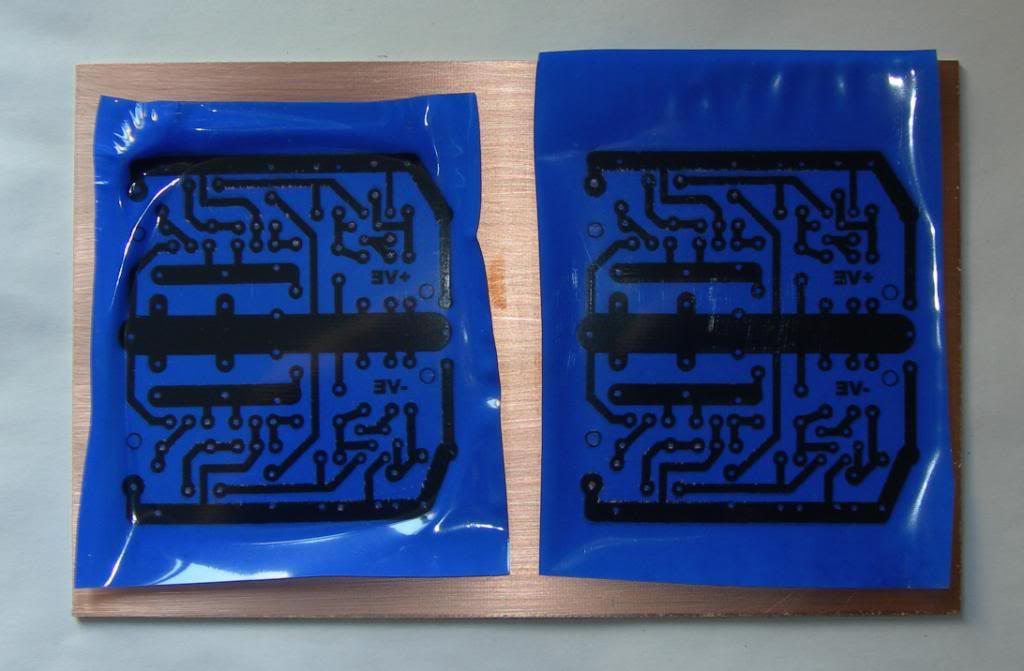
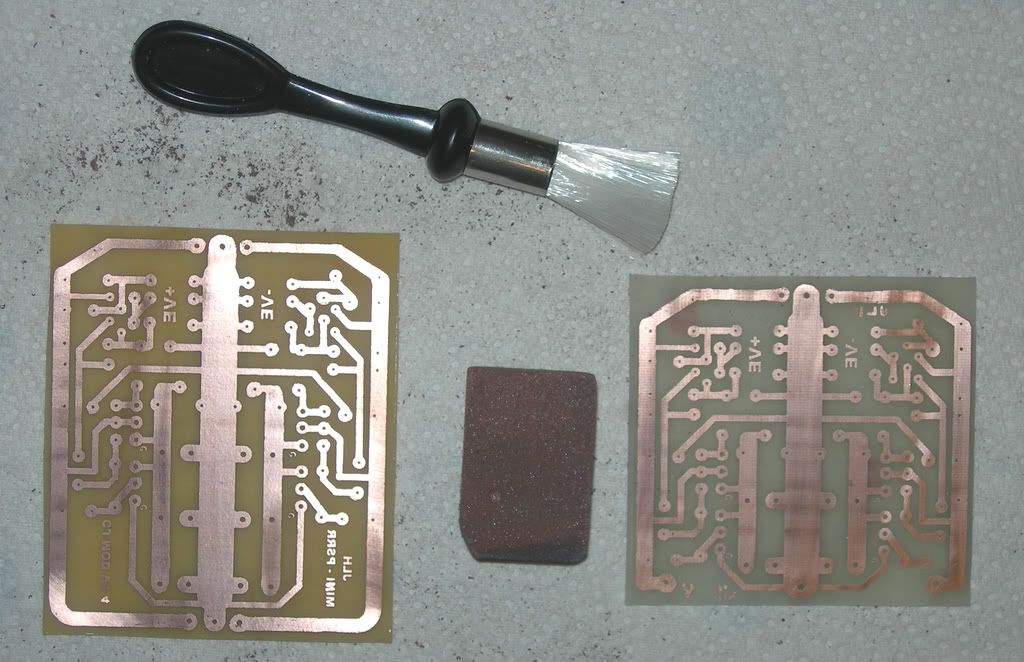
The film is wasted but you can just remove the print with cotchbrite, a PCB rubber or Stain Devil tar & grease remover spray
To touch up those areas where the film hasn't taken I used a variety of permenant markers. I haven'y tried the DECO etch resist pen yet - I'll let you know how well that works on a test piece tomorrow.
THe next stage was trimming the board.
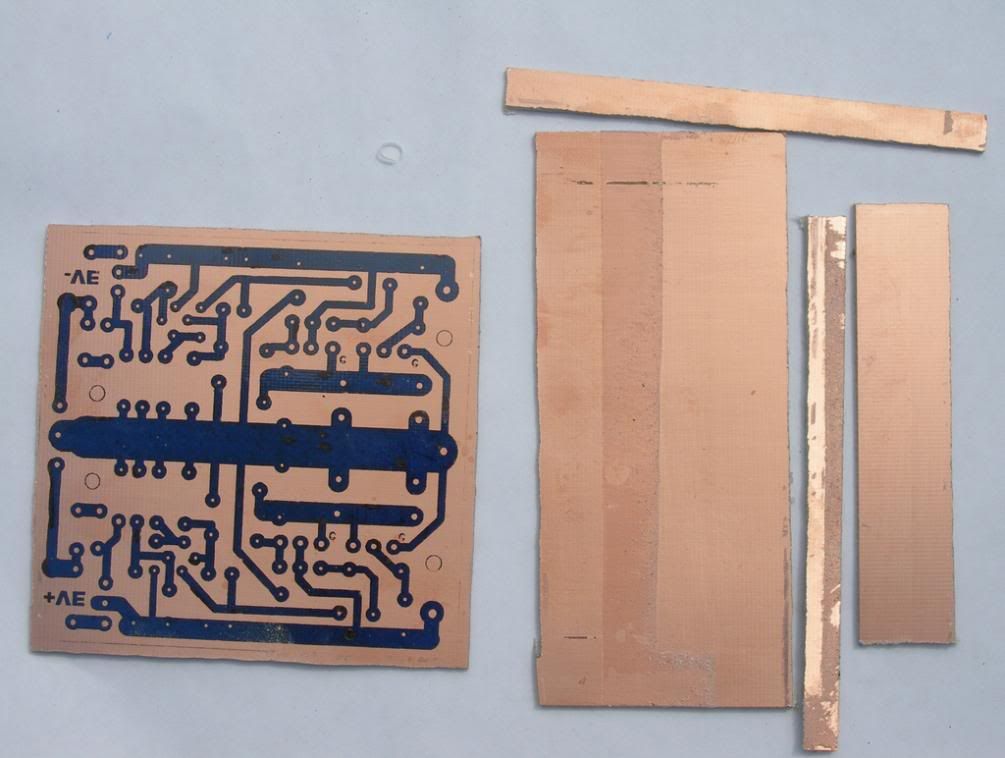
But I won't be using the jigsaw without a lot more practice...
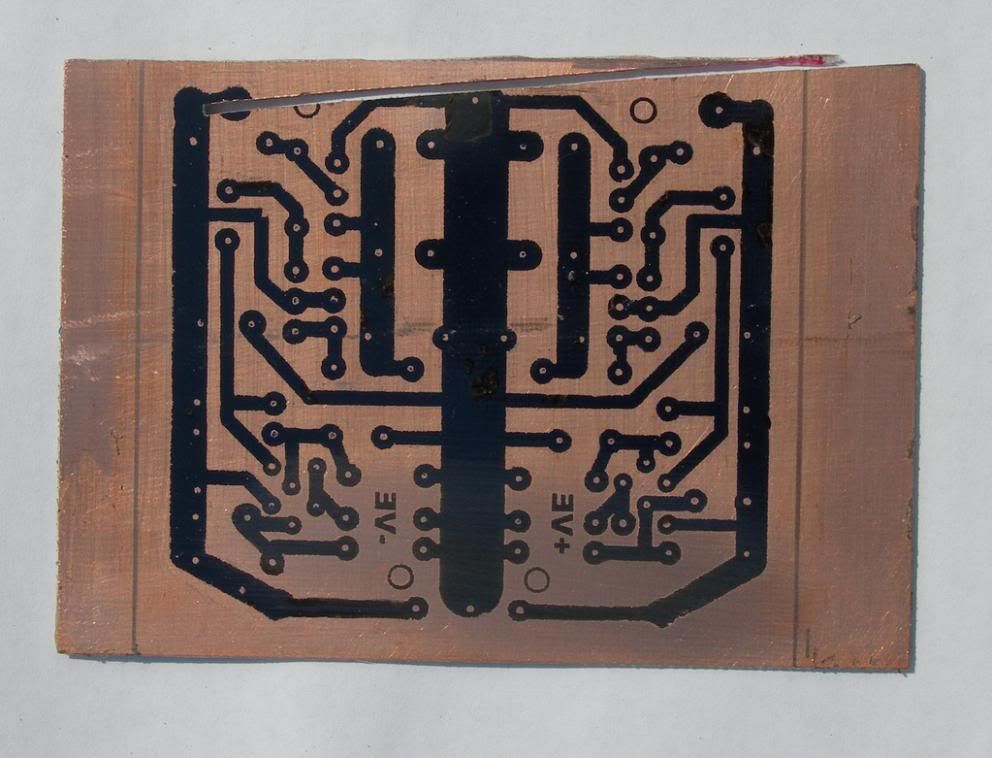
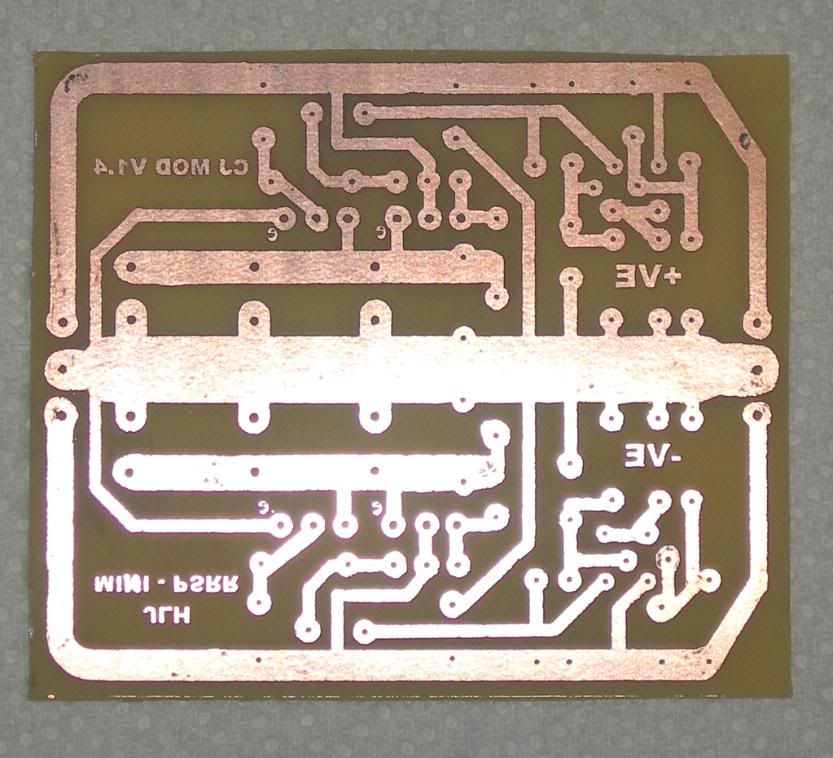
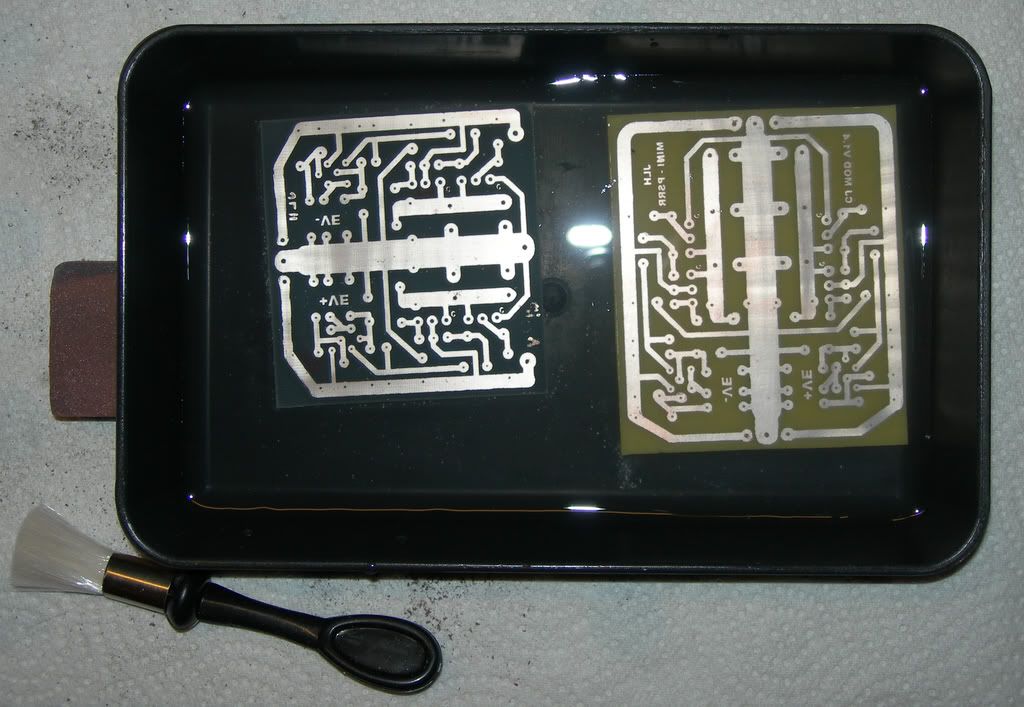
With all that done it was on to the etching. I got a SENO-GS 'etching system' pack from Rapid. The Instructions were good and the sealed system was certainly easy to use. I used the etching tray as a hot water bath as this apparently speeds up the etching process.
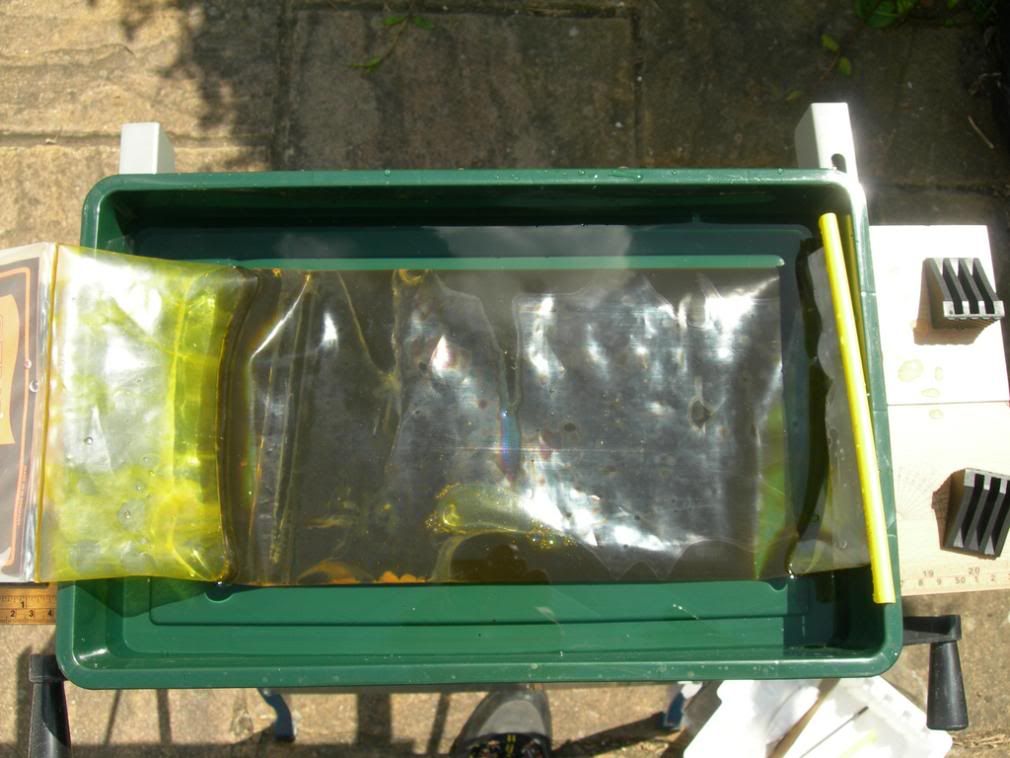
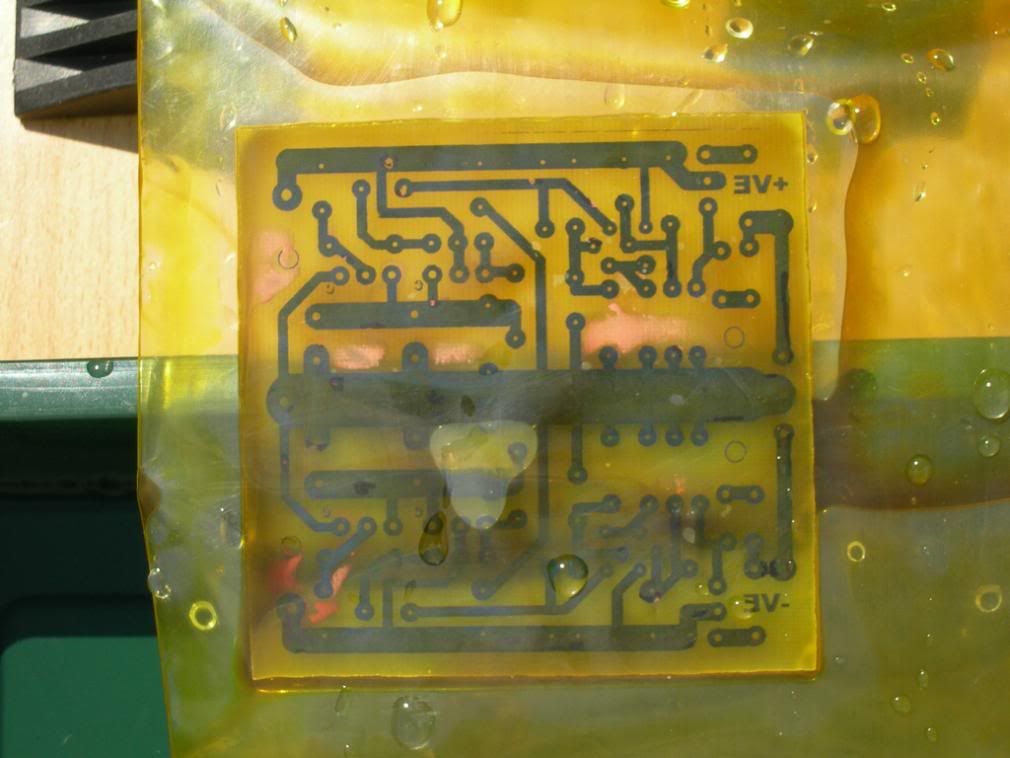
I've just realised that I haven't got a picture of an etched board before I dipped it in this stuff....
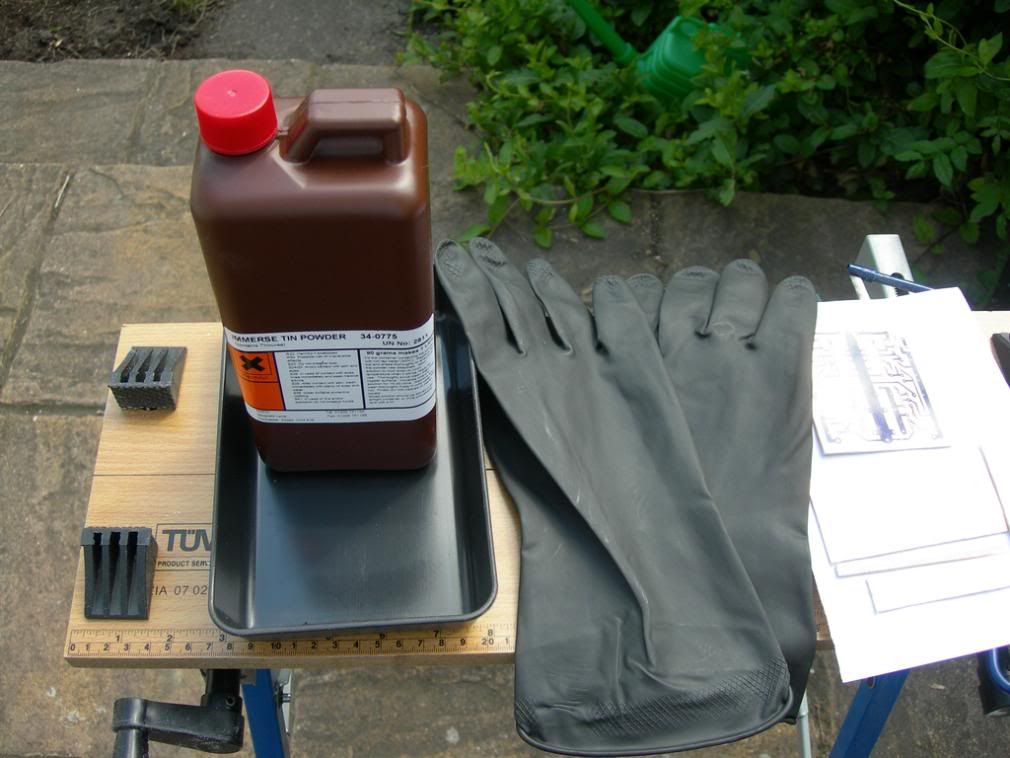
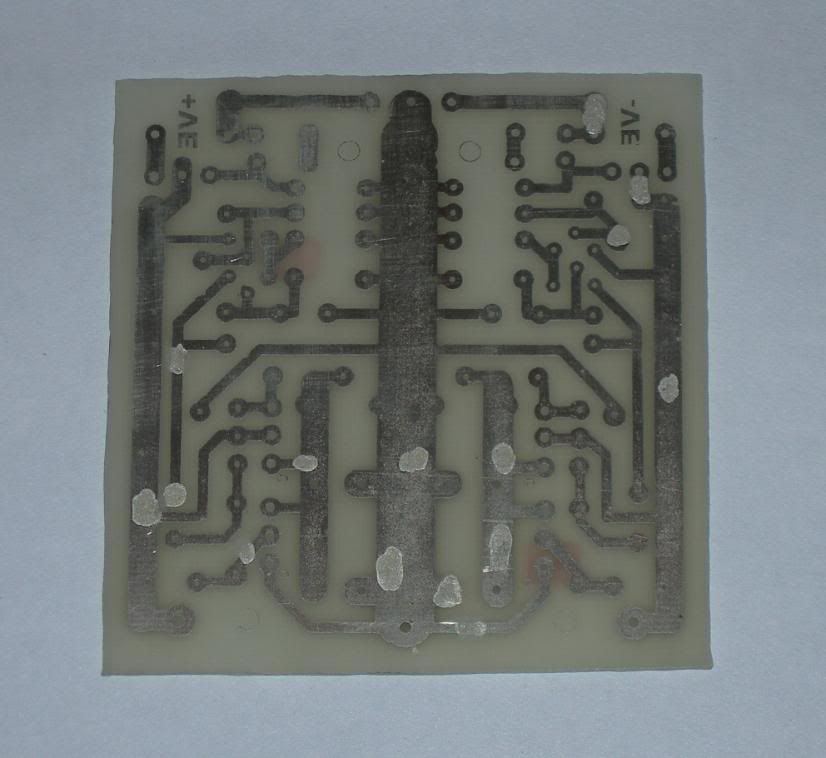
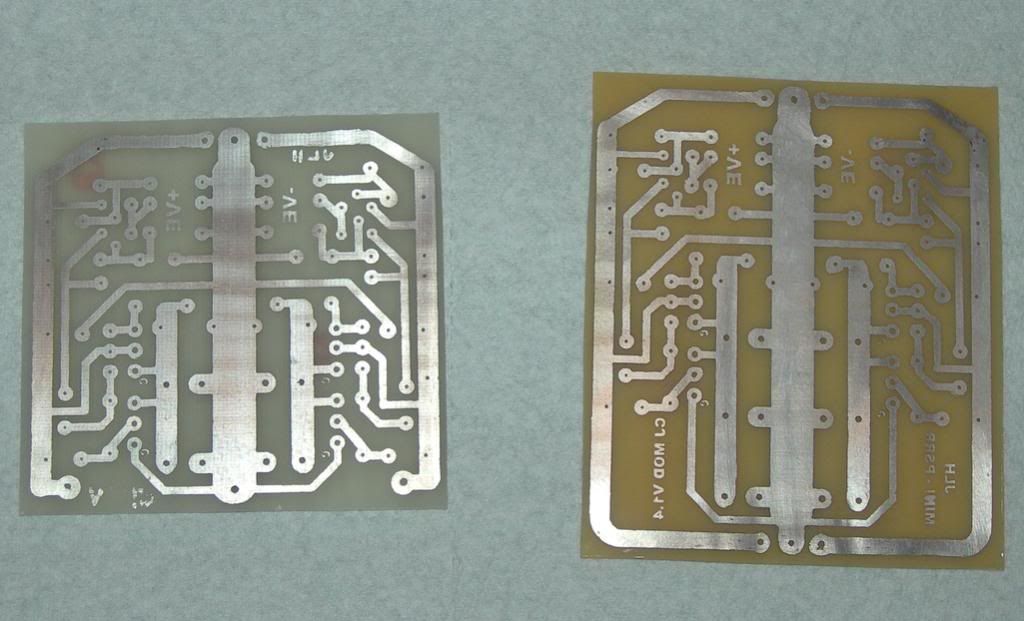
The resultant board had a few blemishes where the 'Write 4 All' pen didn't resist the Ferric Chloride etching solution. I touched it up with conductive silver paint but at GBP8 for 2 grams I'll be making sure of my boards before they go for their acid bath!
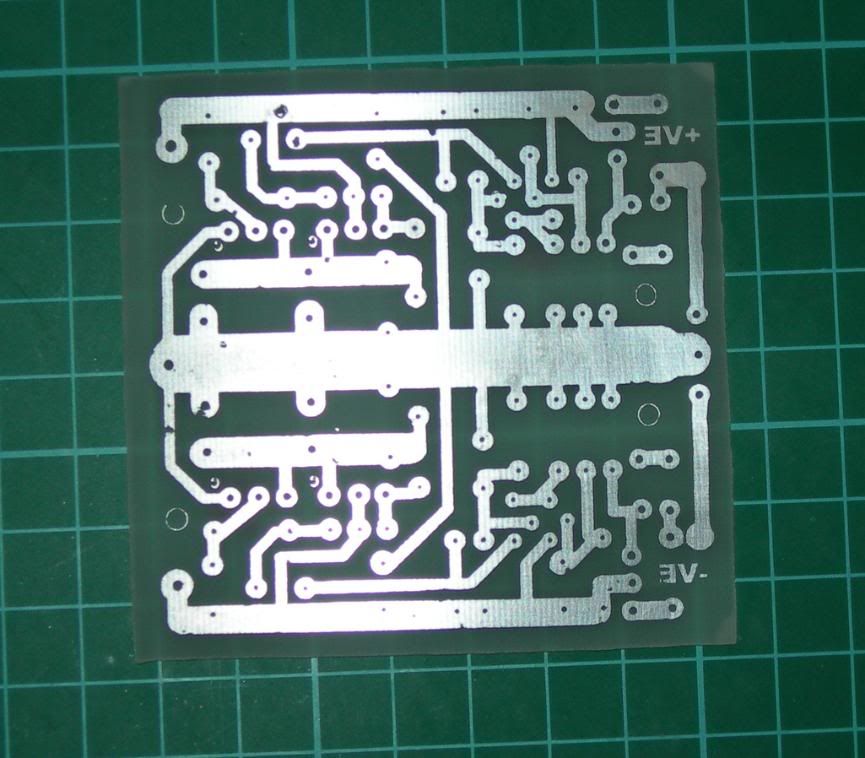
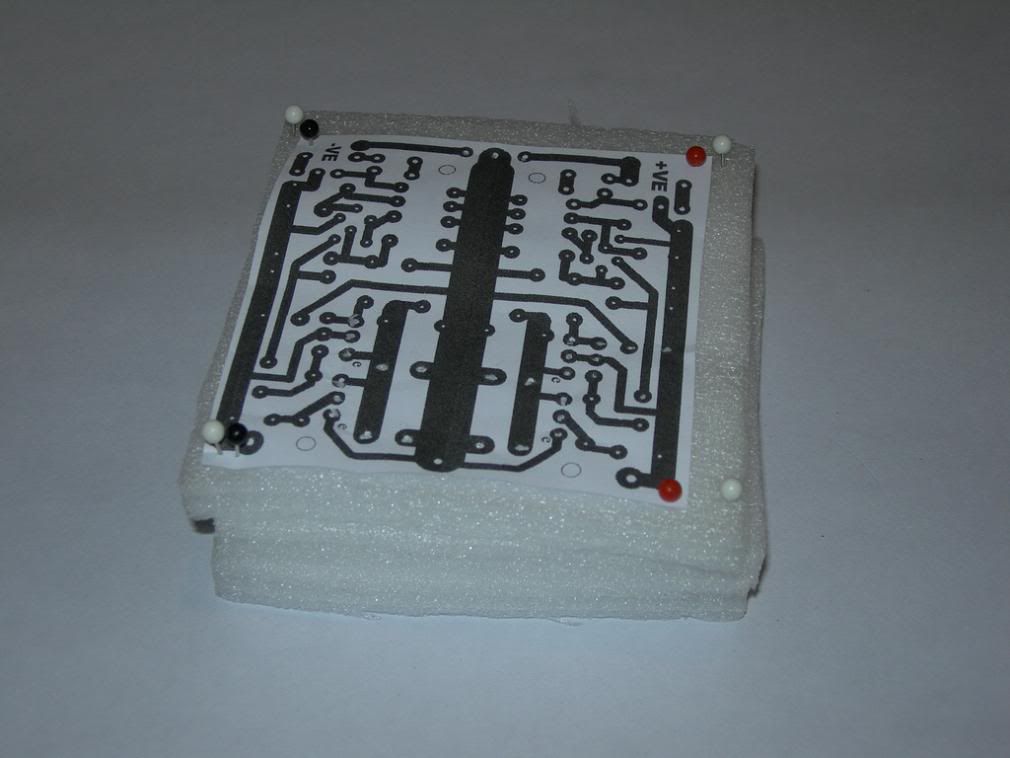
After that its drilling and its ready. After issues with photocopiers resizing A4 originals to letter size - the PnP film only comes in letter, and a slightly cramped board I would recommend making a mockup
to make sure everything fits.
If you're going to have a go yourself watch out for the Ferric Chloride - It stains almost anything and can apparently make a mess of your skin. Follow all health & safety guidelines supplied with the stuff.
I still think I can tweak the process a bit more. Once I'm completely happy I'll post in the for sale thread if anyone wants a JLH board. I'll be charging enough to cover costs so they shouldn't break the bank. Or you could invest in the bits and have a go yourself..........
I almost forgot
A big thanks Guys to Alex & Mike for the advice & encouragement. The whole lot nearly went in the bin a couple of times ;D
With boards now available from Wimbourne publishers and the likelihood of Jaycar are-stocking the kits I thought it was still worth looking into because of the JLH 'ripple eater' suggested by SandyK.
I orginally sourced the film from Ebay. Even using a Canadian source it worked out cheaper than buying from Rapid or Maplin. Since then I've found this chap www.ronlin.co.uk/who sells it for GBP1.75 per sheet. For a good basic tutorial on using the film try www.semis.demon.co.uk/PCB/PCB.html
Here's a look at some of my efforts.
Not long after the Press 'n' Peel (PnP from now on) turned up my laserjet printer ran out of toner. So it was off to the local copyshop. The results via their Colour copier weren't great as you can see below...

The local newsagent's simpler monochrome copier did a better job but the toner wasn't solid - leading to problems at the ironing and etching stage....

With a bit of a delay the laser was back in action and the results were better. More even toner on the film and better transfer to the copper board.

Trial and error has taught me to look for a very dark image after ironing before allowing to cool and peeling of the film. The middle example here has not been ironed on yet....

Putting a sheet of paper between the iron and the PnP film is a good tip - otherwise you can end up with this mess.

The film is wasted but you can just remove the print with cotchbrite, a PCB rubber or Stain Devil tar & grease remover spray

To touch up those areas where the film hasn't taken I used a variety of permenant markers. I haven'y tried the DECO etch resist pen yet - I'll let you know how well that works on a test piece tomorrow.
THe next stage was trimming the board.


But I won't be using the jigsaw without a lot more practice...

With all that done it was on to the etching. I got a SENO-GS 'etching system' pack from Rapid. The Instructions were good and the sealed system was certainly easy to use. I used the etching tray as a hot water bath as this apparently speeds up the etching process.


I've just realised that I haven't got a picture of an etched board before I dipped it in this stuff....

The resultant board had a few blemishes where the 'Write 4 All' pen didn't resist the Ferric Chloride etching solution. I touched it up with conductive silver paint but at GBP8 for 2 grams I'll be making sure of my boards before they go for their acid bath!


After that its drilling and its ready. After issues with photocopiers resizing A4 originals to letter size - the PnP film only comes in letter, and a slightly cramped board I would recommend making a mockup
to make sure everything fits.

If you're going to have a go yourself watch out for the Ferric Chloride - It stains almost anything and can apparently make a mess of your skin. Follow all health & safety guidelines supplied with the stuff.

I still think I can tweak the process a bit more. Once I'm completely happy I'll post in the for sale thread if anyone wants a JLH board. I'll be charging enough to cover costs so they shouldn't break the bank. Or you could invest in the bits and have a go yourself..........

I almost forgot

A big thanks Guys to Alex & Mike for the advice & encouragement. The whole lot nearly went in the bin a couple of times ;D




 (Been dying to use that one

