Fitting a blue velvet pot to an X-Can v2
Oct 20, 2007 14:50:31 GMT
Post by PinkFloyd on Oct 20, 2007 14:50:31 GMT
I've been meaning to try this for a while and seeing I have to wait till Tuesday for a batch of transformers to arrive I had time to fit an RK27 (blue velvet) ALPS pot into my v2 this afternoon:
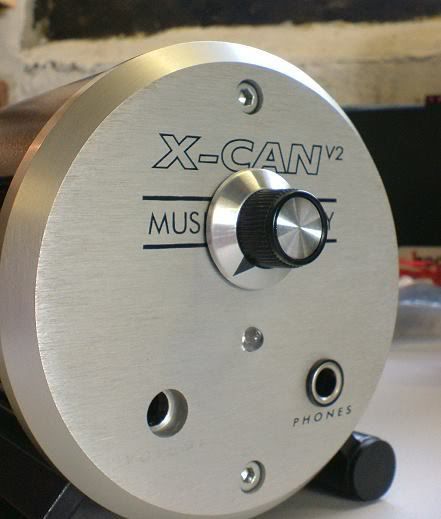
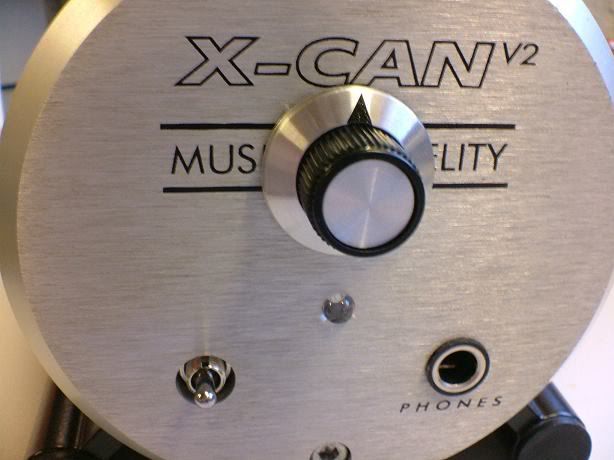
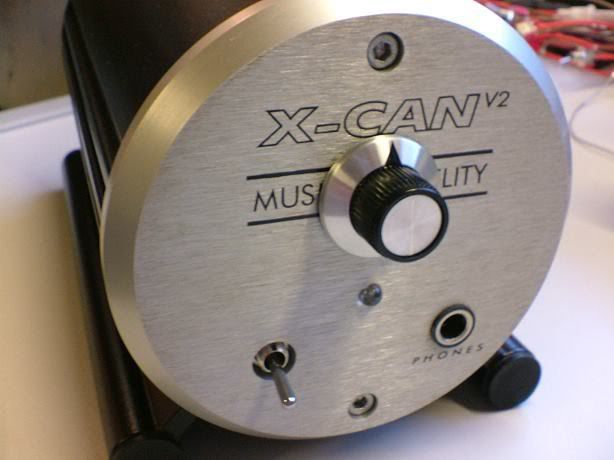
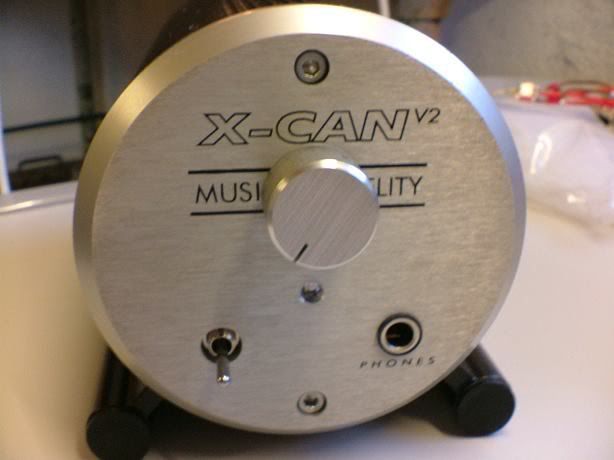
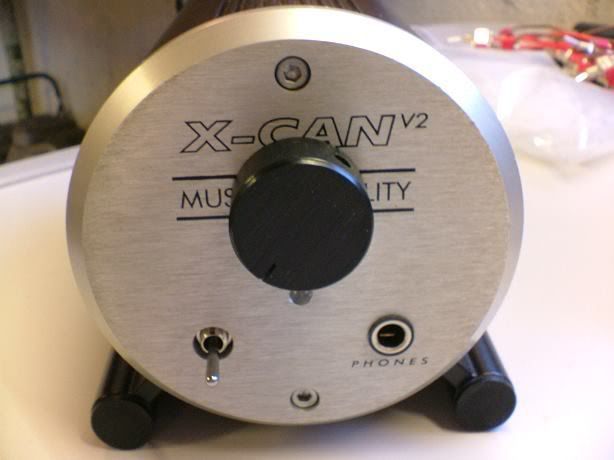
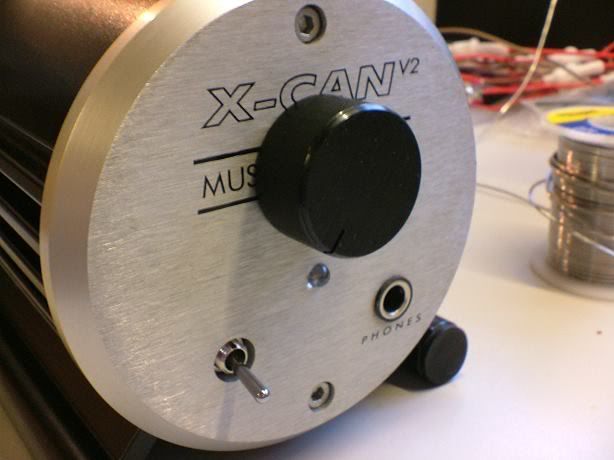
There is NO WAY this will fit in place of the existing pot, it is necessary to drill a hole in the faceplate of the v2 to accomodate the RK27, I found the best place for the hole was dead centre between the words "musical" and "fidelity".
It's pretty soft aluminium but it's bloody thick aluminium so it will take a few minutes to bore right through. You'll then find you can't secure the RK27 to the front panel using the nut so (unless you've got a very fancy machining tool) the best way to secure it is with a good dose of epoxy resin, believe me once it's in position it will never come off unless you smash hell out of it with a hammer. (not recommended!)
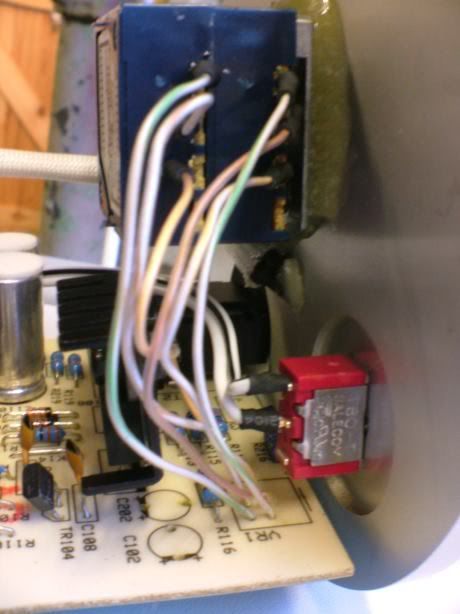
Once the pot is secured to the chassis (ie: the epoxy has set) it's then just a simple case of soldering some CAT5 wire to the potentiometer pads on the PCB and then soldering them onto the corresponding legs on the RK27. As simple as that, a 45 minute job.
You're left with a hole on the front panel and the word "volume" below it.... simple to remove the "volume" printing by rubbing it with a cloth dipped in thinners..... not quite sure what to do with the hole yet but will think of something, maybe an on / off switch
Haven't got a clue what difference (if any) this has made to the SQ but I will report back later after the amp has warmed up for a while.
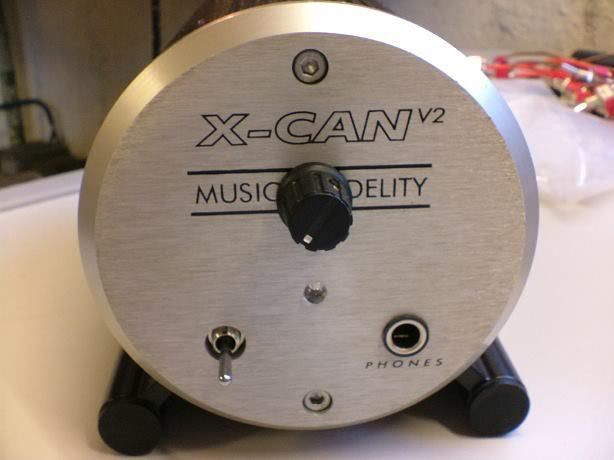
Here are a few pics:
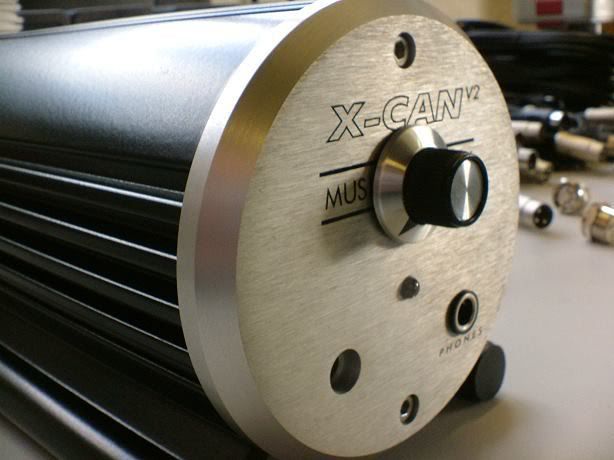
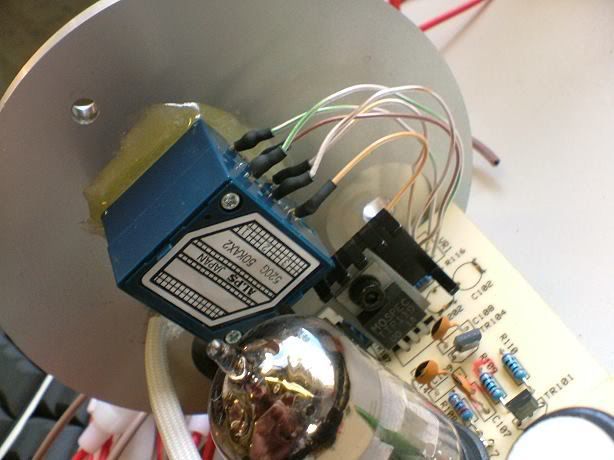
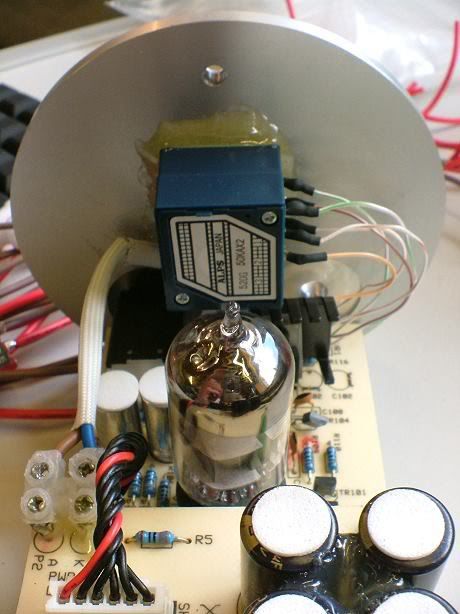
Not sure about the knob but it will do for the time being

There is NO WAY this will fit in place of the existing pot, it is necessary to drill a hole in the faceplate of the v2 to accomodate the RK27, I found the best place for the hole was dead centre between the words "musical" and "fidelity".
It's pretty soft aluminium but it's bloody thick aluminium so it will take a few minutes to bore right through. You'll then find you can't secure the RK27 to the front panel using the nut so (unless you've got a very fancy machining tool) the best way to secure it is with a good dose of epoxy resin, believe me once it's in position it will never come off unless you smash hell out of it with a hammer. (not recommended!)
Once the pot is secured to the chassis (ie: the epoxy has set) it's then just a simple case of soldering some CAT5 wire to the potentiometer pads on the PCB and then soldering them onto the corresponding legs on the RK27. As simple as that, a 45 minute job.
You're left with a hole on the front panel and the word "volume" below it.... simple to remove the "volume" printing by rubbing it with a cloth dipped in thinners..... not quite sure what to do with the hole yet but will think of something, maybe an on / off switch

Haven't got a clue what difference (if any) this has made to the SQ but I will report back later after the amp has warmed up for a while.
Here are a few pics:


Not sure about the knob but it will do for the time being




 Is it just me or is life CRAP these days?