NEW INEXPENSIVE WAY TO MAKE FRONT PANELS
Jun 27, 2017 21:47:16 GMT
Post by videoguy on Jun 27, 2017 21:47:16 GMT
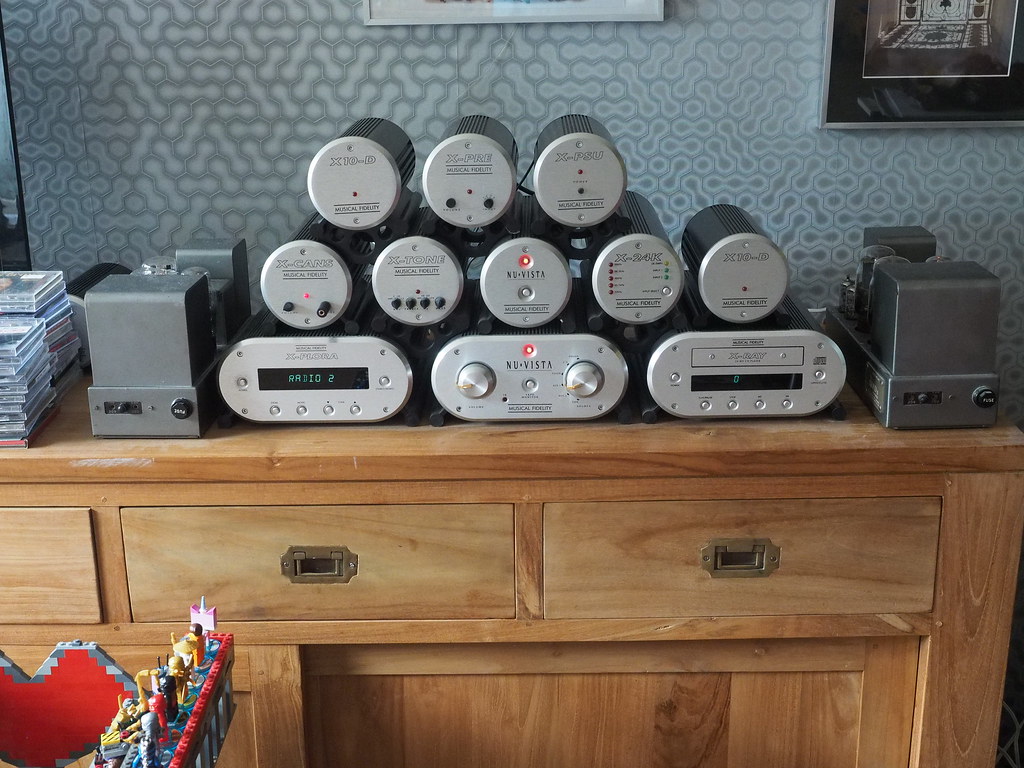
I recently discovered a way to make professional looking front panels fairly reasonably. Looked at Front panel express, local trophy shops, etc. Finally found a local sign shop that letters all of the Pinellas Cty. vehicles. Turns out that the owner used to sell Hi Fi equipment 30+ yrs. ago. Described my problem & was shown a plastic sheet that comes in a multitude of finishes. The material comes in two thicknesses, 1/16" & 1/32". The company is ROWMARK & is found at <www.rowmark.com>.
The finish I chose is brushed stainless steel; it has a high gloss, as such it is difficult to photograph & not get glare, from it.
The first step is to generate lettering for each control. I would set up labeling for each control as separate items on a 8.5" X 11" piece of paper. I used MS Word & then converted it to a PDF file using <www.zamzar.com>. It retains the measurements & is easy to use.
It is free if you only use it occasionally.
Next I sent the converted file to Bob at the sign shop. Gave him the exact measurements of the front panel. He was then able to place each set of lettering in the proper location on the panel. Took his file to the engraver, who makes all sizes of labels & signs for him.
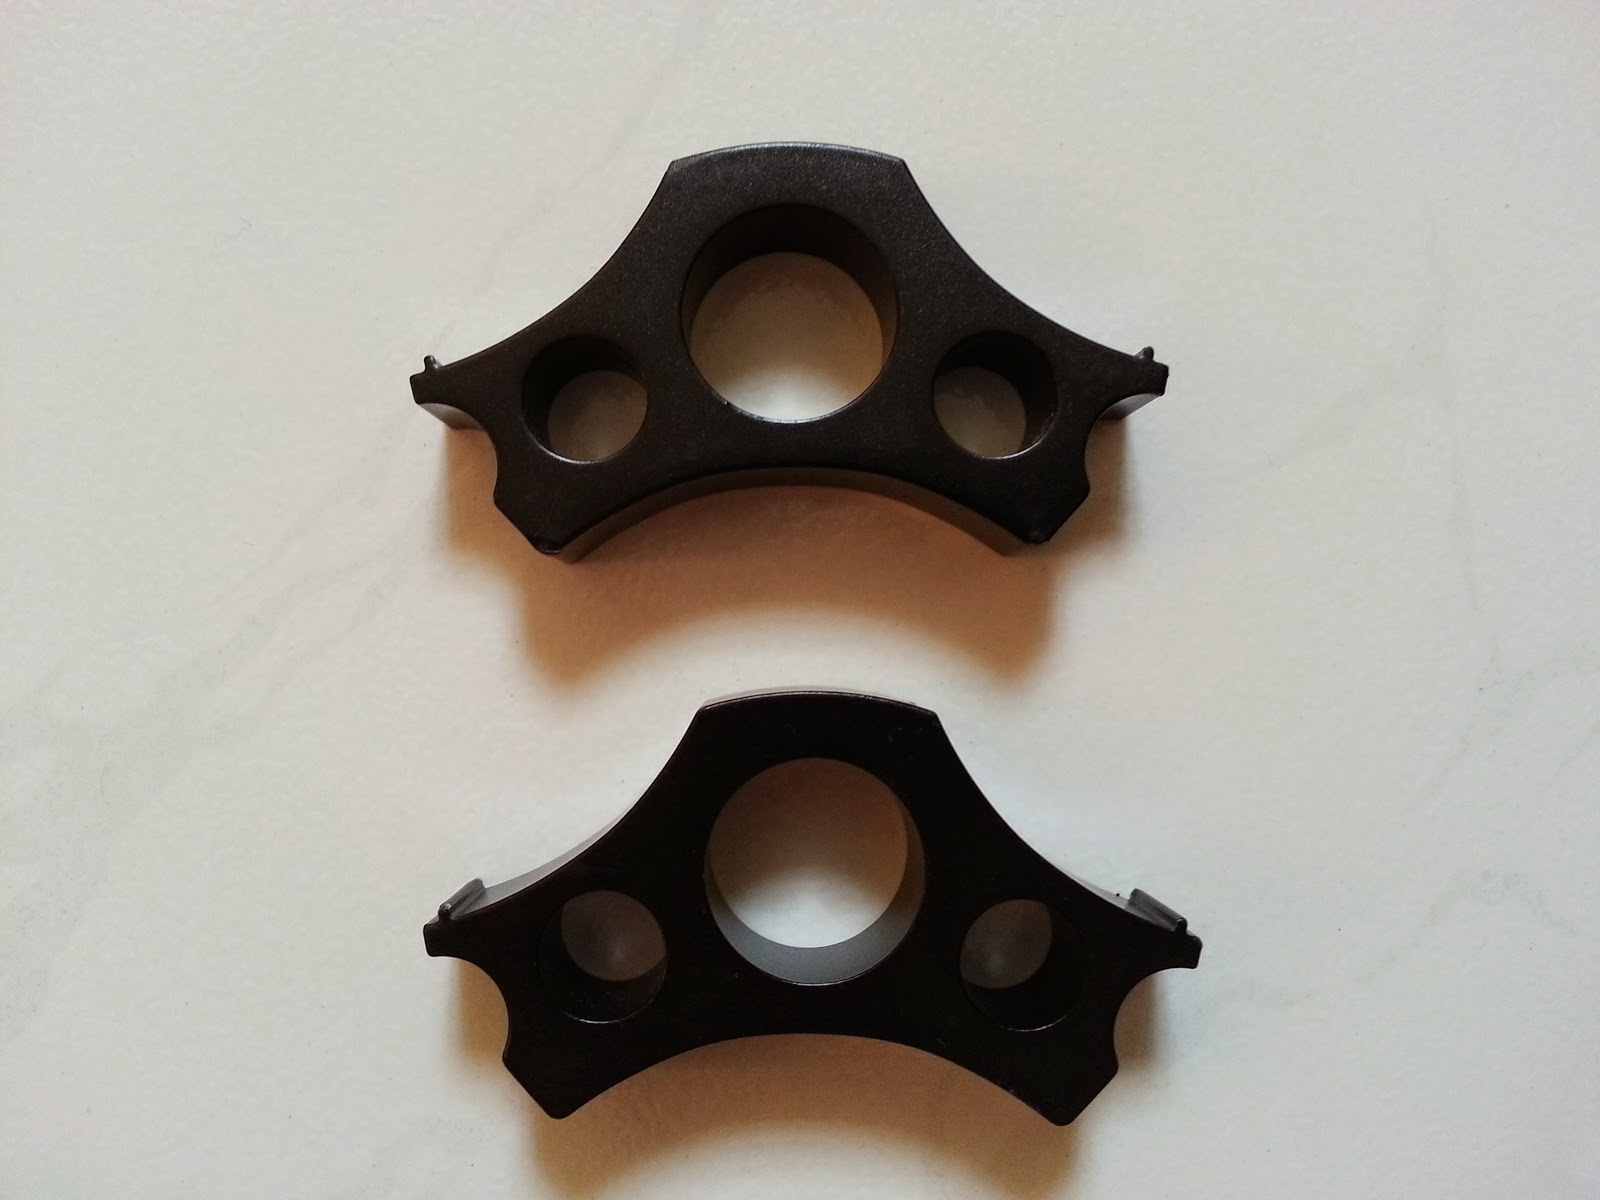
When the panel overlay is laser etched the lettering was black & very sharp.
You of course need to get an aluminum unfinished panel of correct thickness with the thickness of the overlay taken into the equation.
This material can be drilled after it has been adhered to the metal sub panel. The overlay is fastened to the sub panel using a thin paper by 3M that has adhesive on both sides. The 3M material is used to attach engraved labels to metal machinery & any other surface.
The finish I chose is brushed stainless steel; it has a high gloss, as such it is difficult to photograph & not get glare, from it.
The first step is to generate lettering for each control. I would set up labeling for each control as separate items on a 8.5" X 11" piece of paper. I used MS Word & then converted it to a PDF file using <www.zamzar.com>. It retains the measurements & is easy to use.
It is free if you only use it occasionally.
Next I sent the converted file to Bob at the sign shop. Gave him the exact measurements of the front panel. He was then able to place each set of lettering in the proper location on the panel. Took his file to the engraver, who makes all sizes of labels & signs for him.
When the panel overlay is laser etched the lettering was black & very sharp.
You of course need to get an aluminum unfinished panel of correct thickness with the thickness of the overlay taken into the equation.
This material can be drilled after it has been adhered to the metal sub panel. The overlay is fastened to the sub panel using a thin paper by 3M that has adhesive on both sides. The 3M material is used to attach engraved labels to metal machinery & any other surface.


.jpg)